
BOM (Bill Of Materials)
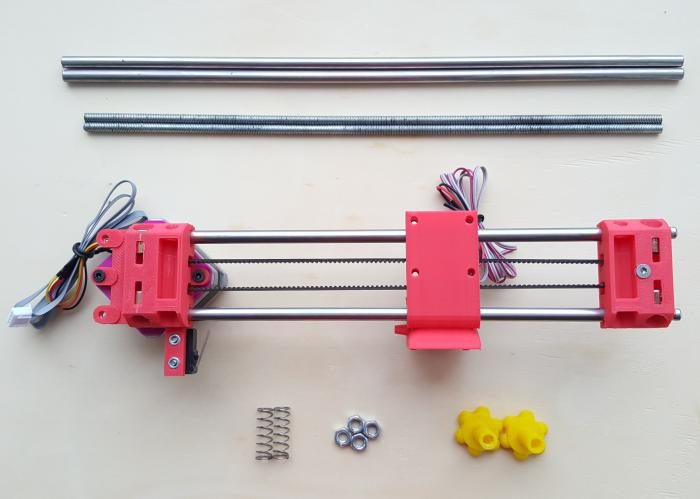
Parts
Directions
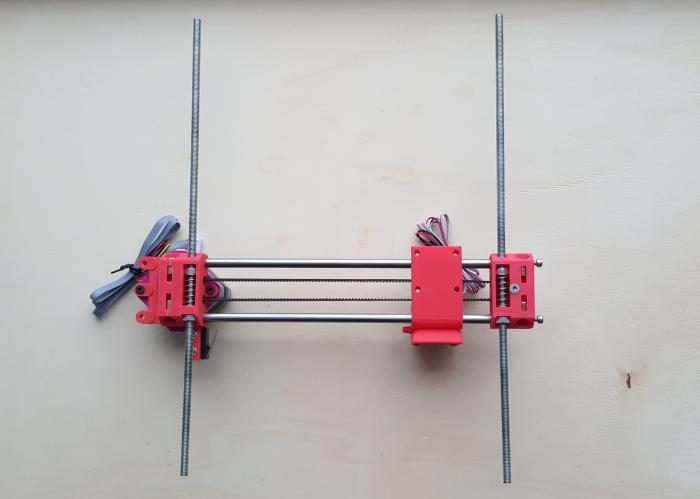
Take the M5 nuts, the springs and the M5 rods and insert them in x-idler and x-motor parts, as in figures.
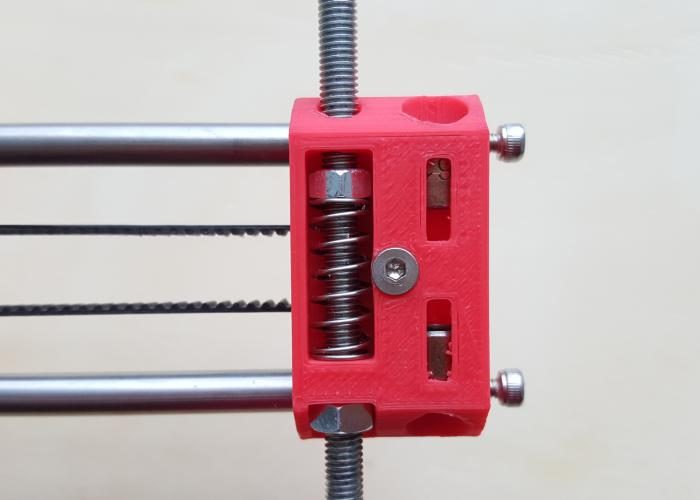
When screwing the rod you should compress the spring a little, do not compress too much or the rod will not spin well.
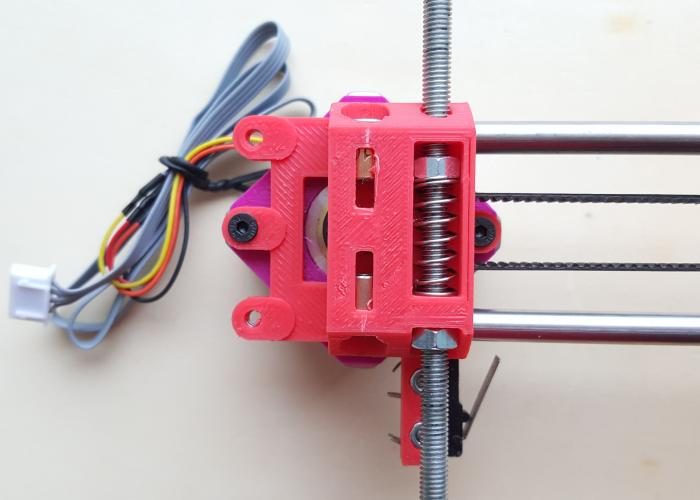
You you'll have something like this.
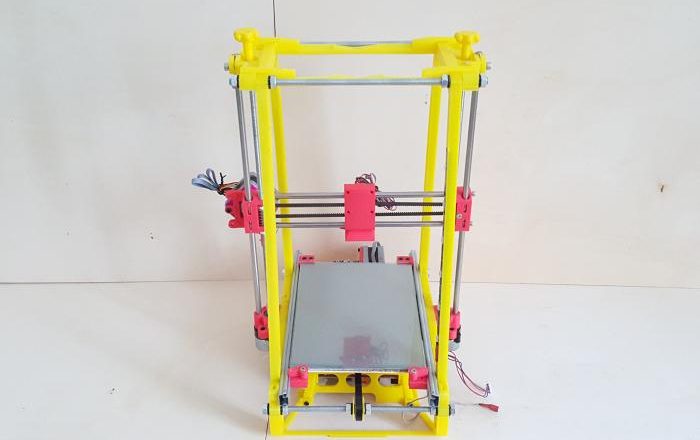
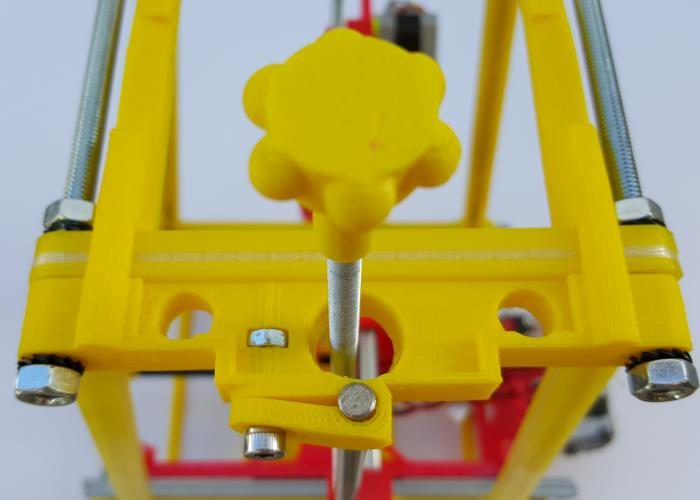
Then, place it in the printer.
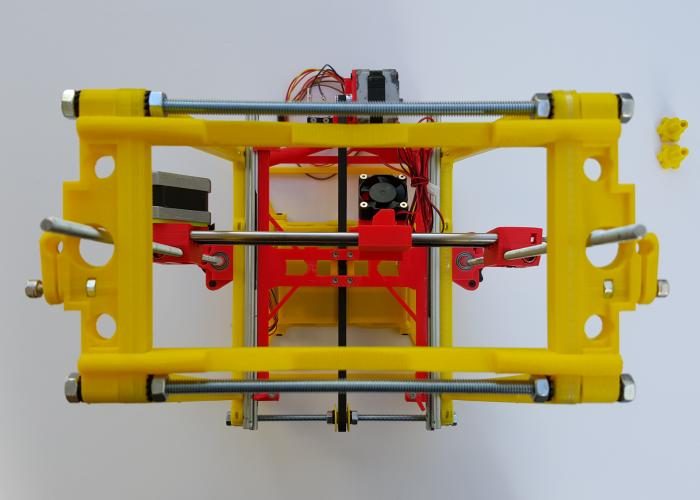
Make sure the rods are inserted through the big hole in the top part.
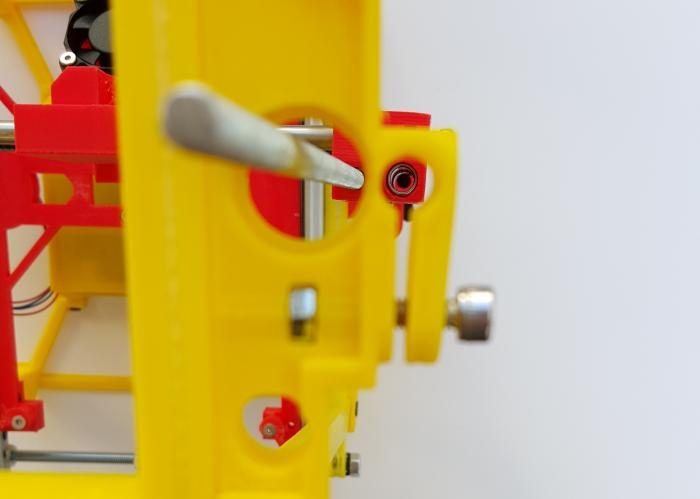
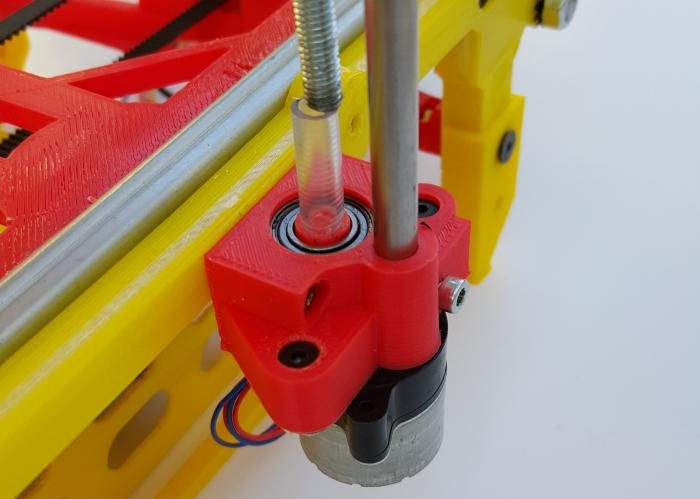
Take the smooth stainless steel rods and insert it through the top hole and...
... into the z-motor mount. Tighten the screws in the top and bottom.
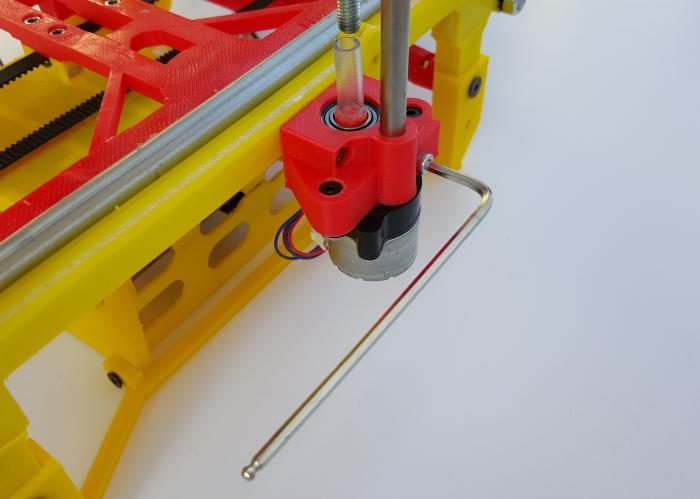
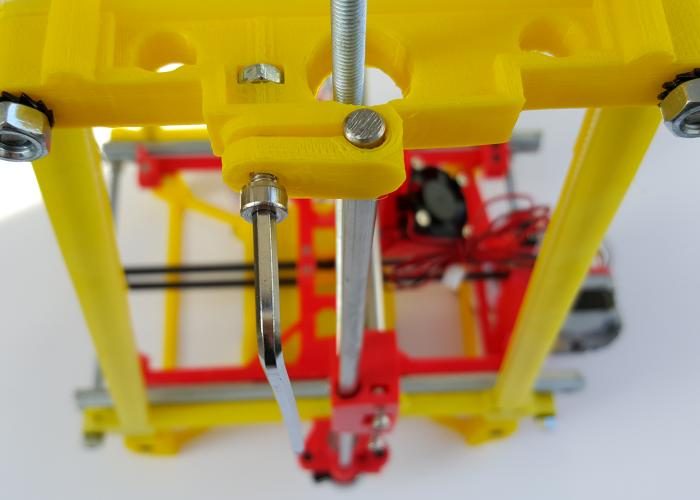
Use the printed caps to help you screw the M5 rods...
... into the PVC-coupling. Holding the PVC helps to prevent damage to the small tube.
BOM (Bill Of Materials)
Parts
Directions
Take the M5 nuts, the springs and the M5 rods and insert them in x-idler and x-motor parts, as in figures.
When screwing the rod you should compress the spring a little, do not compress too much or the rod will not spin well.
You you'll have something like this.
Then, place it in the printer.
Make sure the rods are inserted through the big hole in the top part.
Take the smooth stainless steel rods and insert it through the top hole and...
... into the z-motor mount. Tighten the screws in the top and bottom.
Use the printed caps to help you screw the M5 rods...
... into the PVC-coupling. Holding the PVC helps to prevent damage to the small tube.