
BOM (Bill Of Materials)
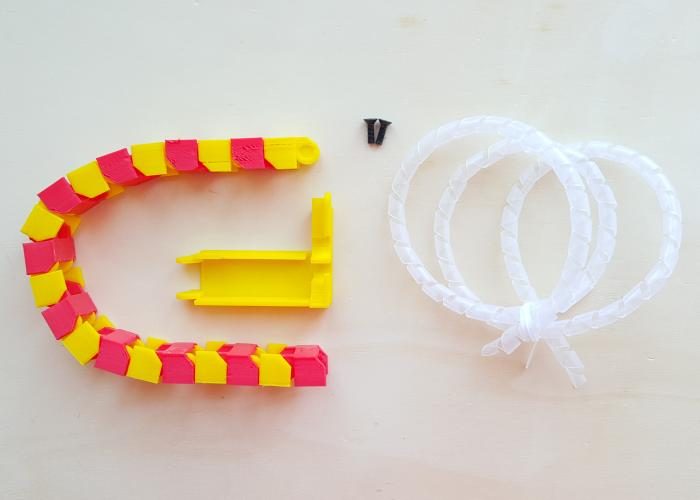
Parts
Directions
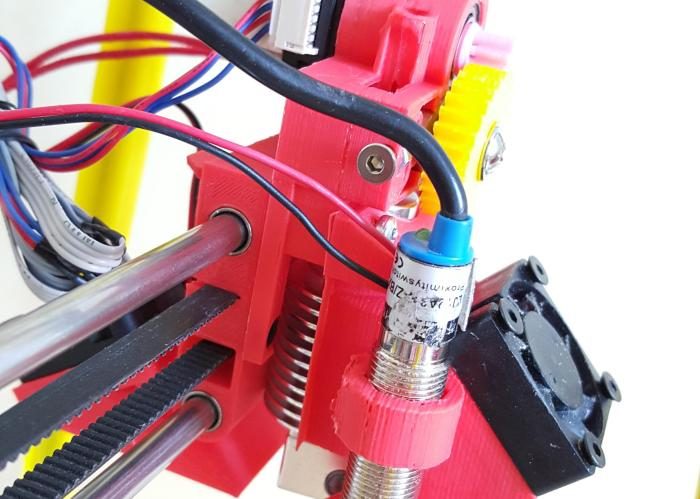
Unfold all the wires coming from the nozzle.
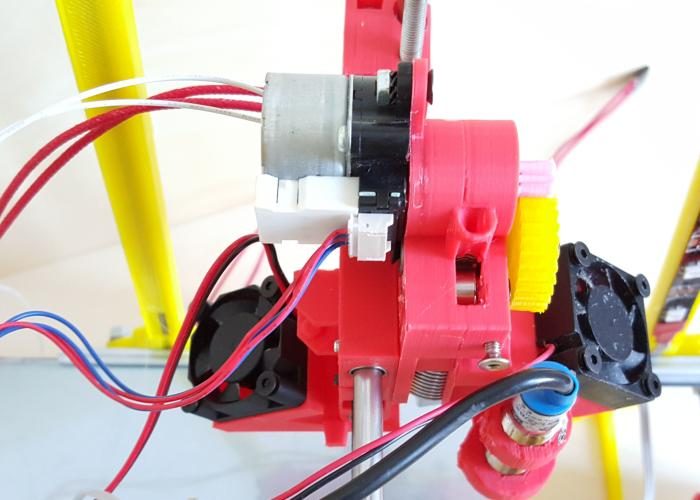
The nozzle heater and thermistor wires go through the hotend's right side.
The proximity sensor and nozzle-fan wires go through the left side.
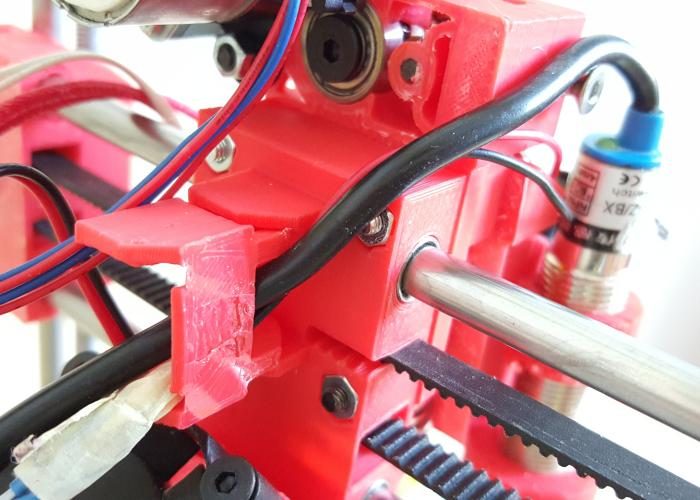
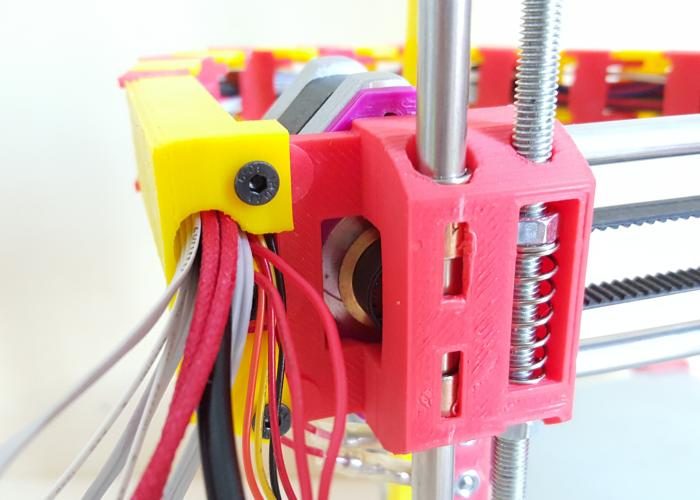
Take a red element and connect it to the back of the carriage, holding insidethe proximity sensor and nozzle fan wires.
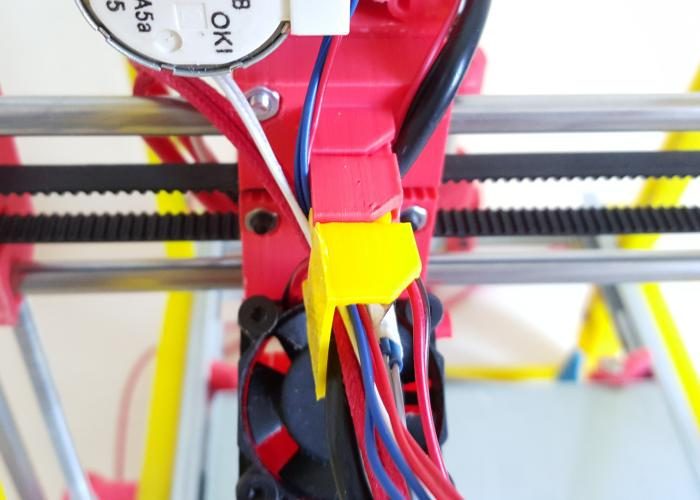
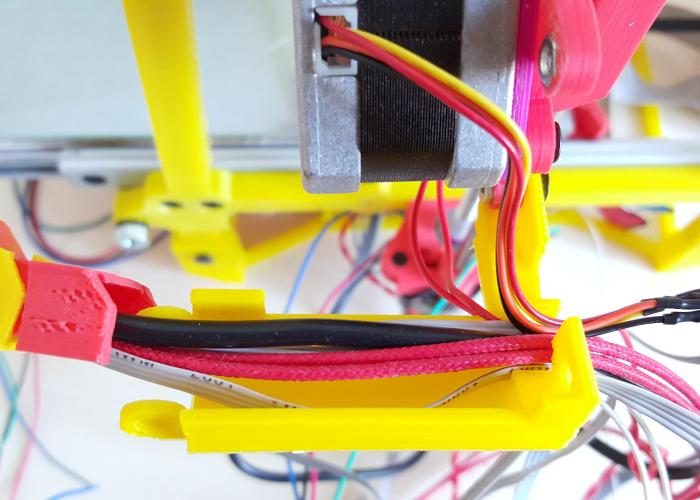
Take the wires coming from the motor (extruder), nozzle heater, nozzle thermistor, and bed fan wires, and hold them together with the proximity sensor and nozzle fan wires. Take a yellow element and connect it to the previous one, trapping inside all the wires.
Next, take a red element and connect it to the yellow one. Hold inside all the wires.
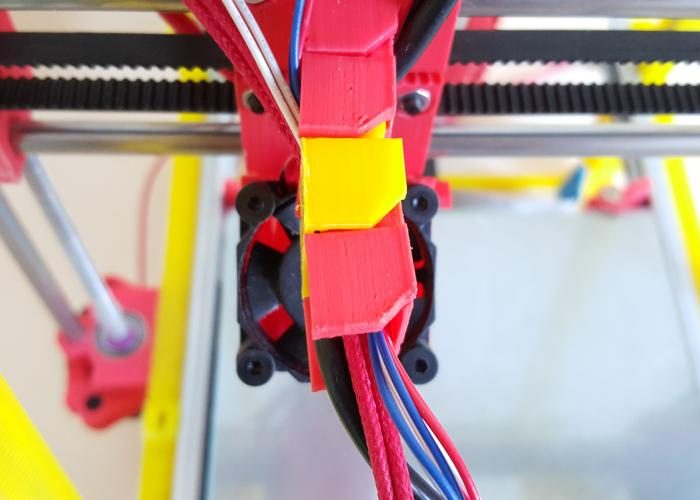
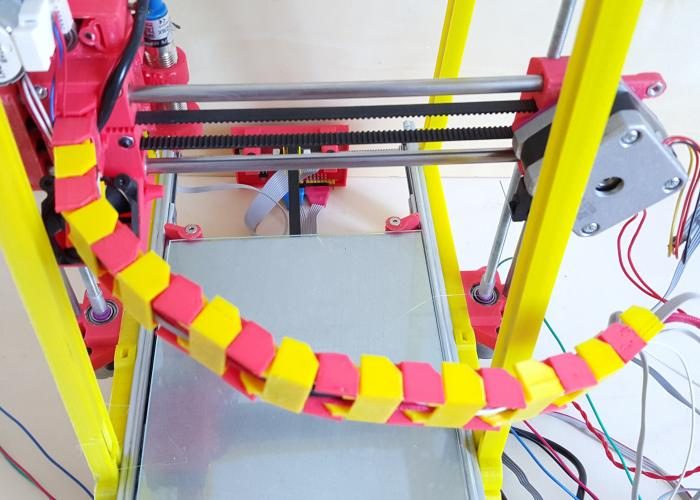
Continue building the chain, alternating colors.
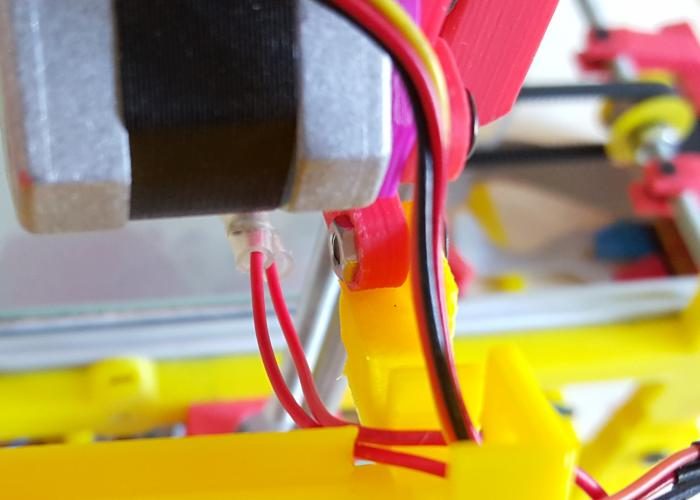
Take the big element and using the M3 Allen screw, attach it to the x-motor part, but only the lower one - MELHORAR.
Allow all the wires coming through the chain to pass along the big element. Pass them through the big element hole.
Connect the chain to the big elements and position the big element on the x-motor part, preparing to attach the other screw.
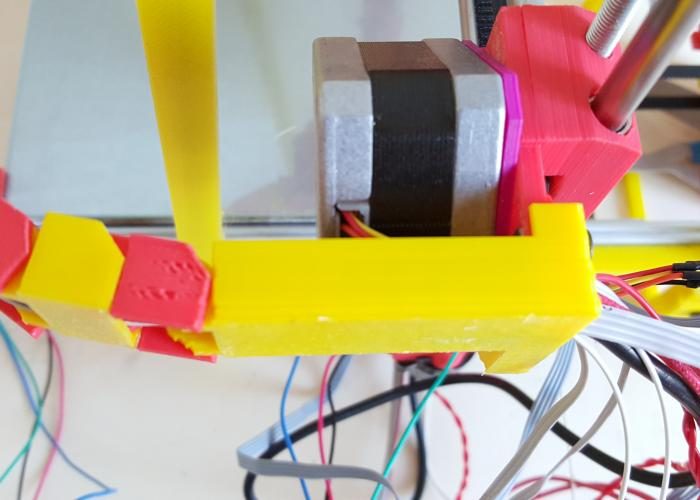
Attach the big element to the x-motor part.
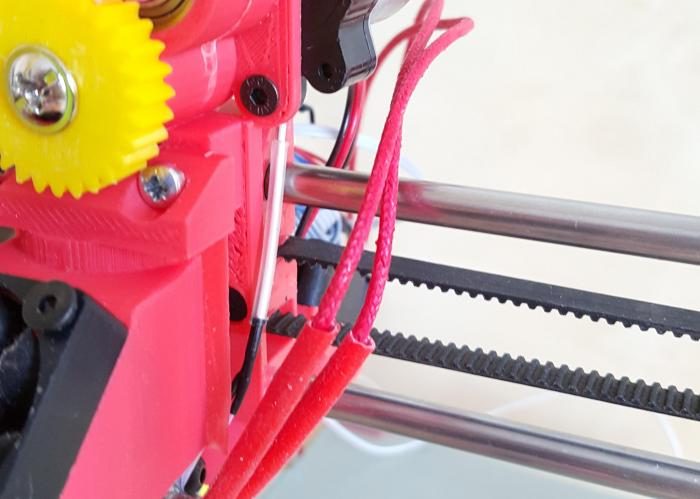
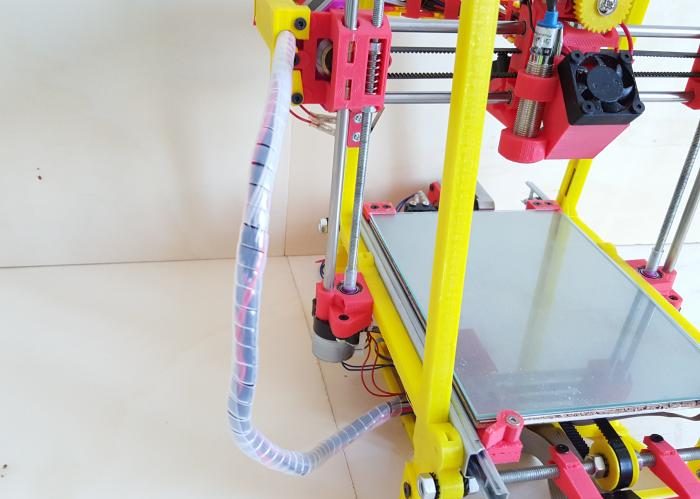
Take the cable organizer and start organizing the cables 🙂

Continue until you have all the wires organized together.
BOM (Bill Of Materials)
Parts
Directions
Unfold all the wires coming from the nozzle.
The nozzle heater and thermistor wires go through the hotend's right side.
The proximity sensor and nozzle-fan wires go through the left side.
Take a red element and connect it to the back of the carriage, holding insidethe proximity sensor and nozzle fan wires.
Take the wires coming from the motor (extruder), nozzle heater, nozzle thermistor, and bed fan wires, and hold them together with the proximity sensor and nozzle fan wires. Take a yellow element and connect it to the previous one, trapping inside all the wires.
Next, take a red element and connect it to the yellow one. Hold inside all the wires.
Continue building the chain, alternating colors.
Take the big element and using the M3 Allen screw, attach it to the x-motor part, but only the lower one - MELHORAR.
Allow all the wires coming through the chain to pass along the big element. Pass them through the big element hole.
Connect the chain to the big elements and position the big element on the x-motor part, preparing to attach the other screw.
Attach the big element to the x-motor part.
Take the cable organizer and start organizing the cables 🙂
Continue until you have all the wires organized together.