
BOM (Bill Of Materials)
Parts
Directions
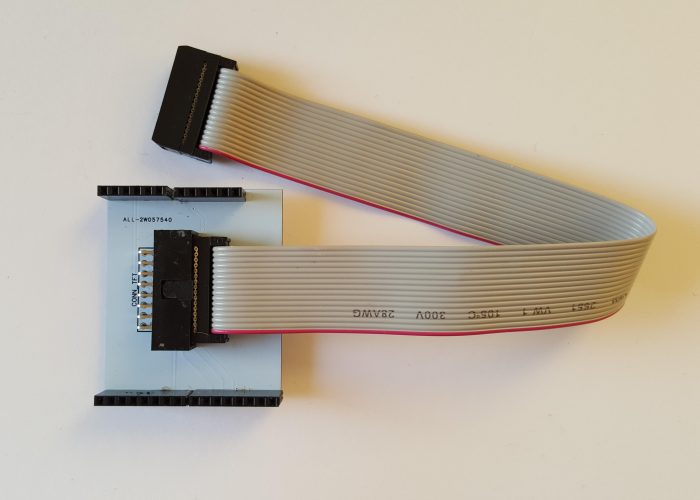
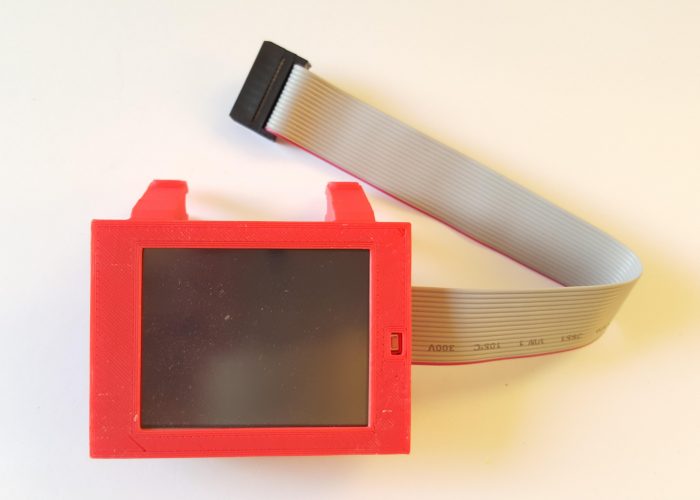
Connect the ribbon cable to the shield, as in picture.
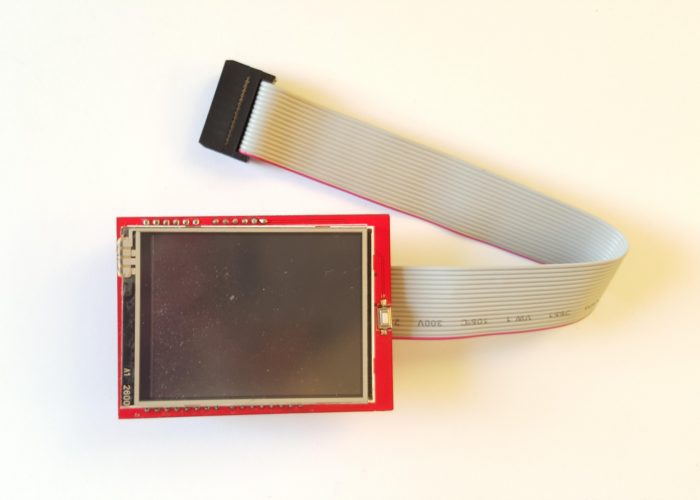
Insert the screen into the shield, oriented as in the picture.
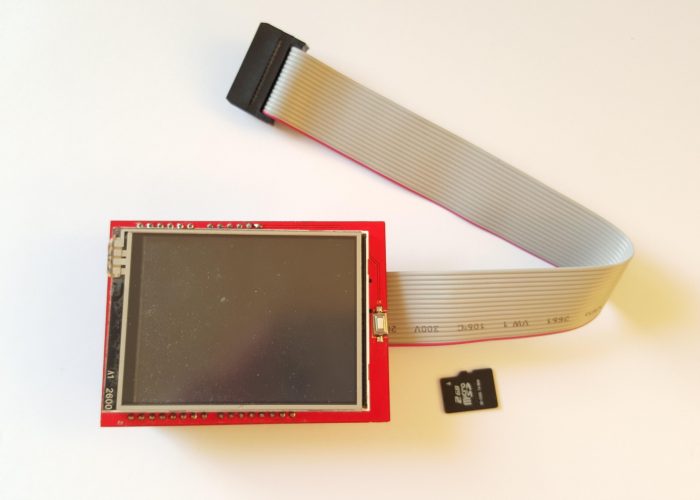
Insert the SD card in the dedicated screen slot.
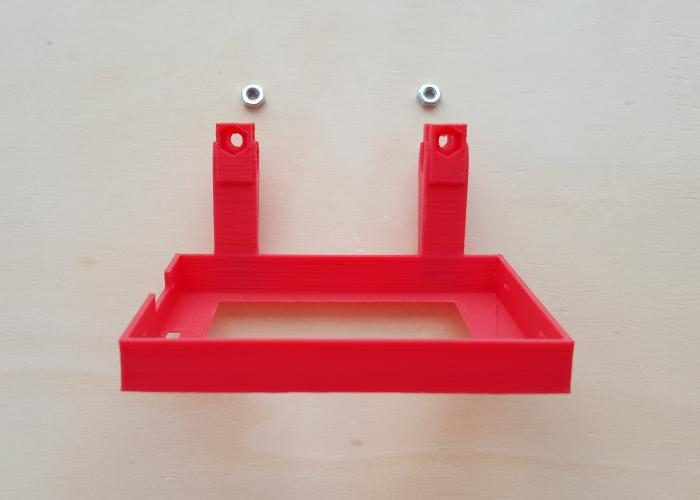
Insert the 2 M3 nuts in the printed part.
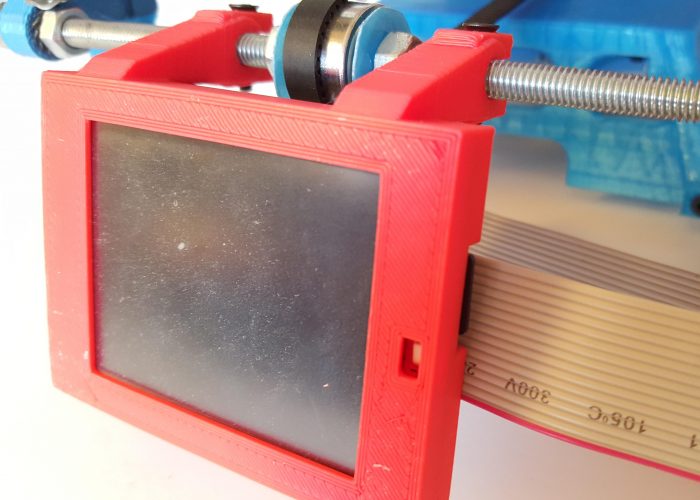
Insert the screen in the printed part, oriented as in the picture. Note that the button stays on the right.
Take the 2 M3 16 mm screws and attach the screen to the printer frame.

Attach it to the M6 front rod.
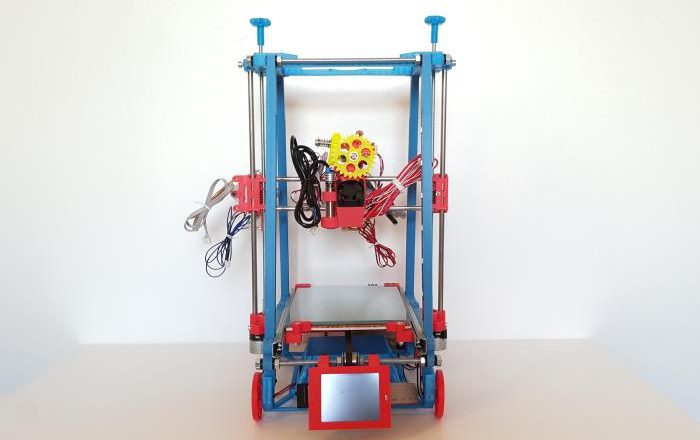
And you're done!
BOM (Bill Of Materials)
Parts
Directions
Connect the ribbon cable to the shield, as in picture.
Insert the screen into the shield, oriented as in the picture.
Insert the SD card in the dedicated screen slot.
Insert the 2 M3 nuts in the printed part.
Insert the screen in the printed part, oriented as in the picture. Note that the button stays on the right.
Take the 2 M3 16 mm screws and attach the screen to the printer frame.
Attach it to the M6 front rod.
And you're done!