
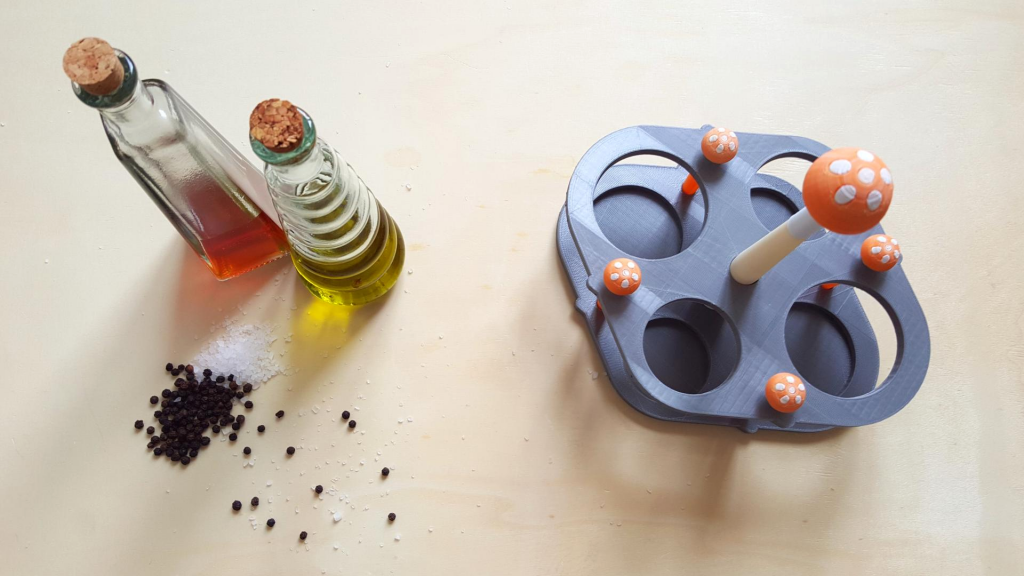
This week we’ve designed and printed a cruet stand that can be easily assembled.
Here we present the first draft.
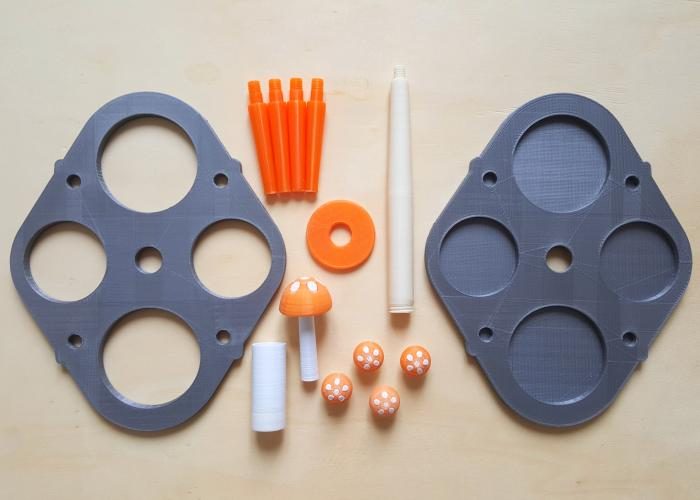
Printed parts
Directions
Insert the round part (in orange) in the large bottom part (gray). Then, take the long stump (white)...
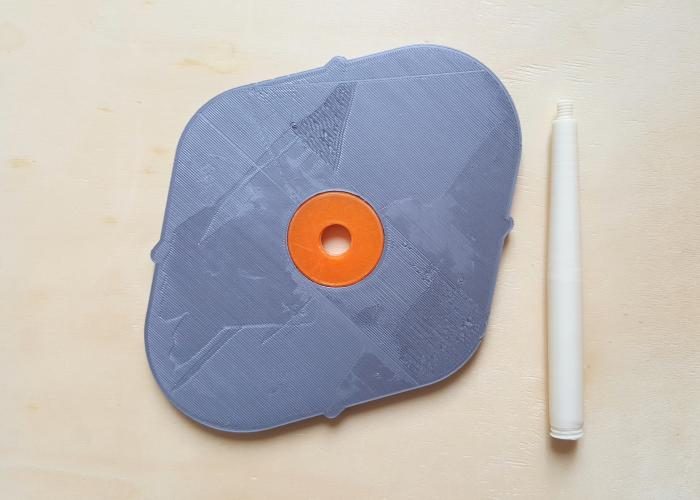
and screw it to the previously inserted round orange part. Attach from the other side, as in the picture.
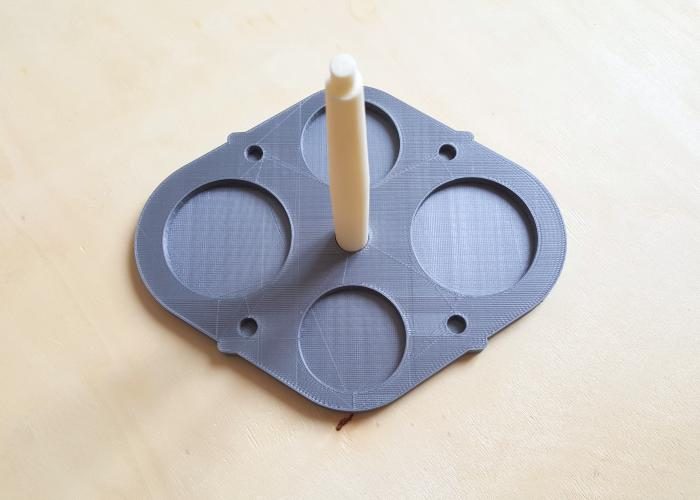
Insert the four little stumps in the holes, in the bottom part.
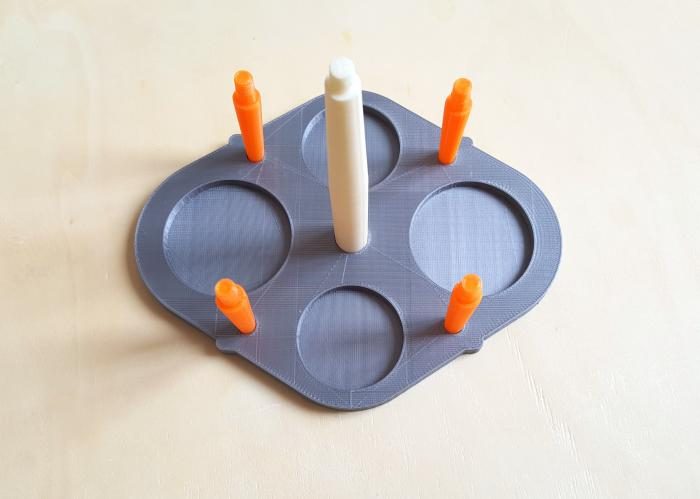
Insert the small tube in the long white part.
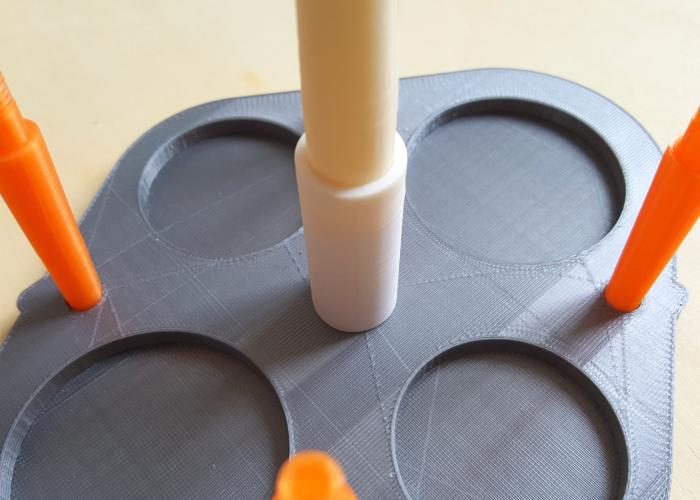
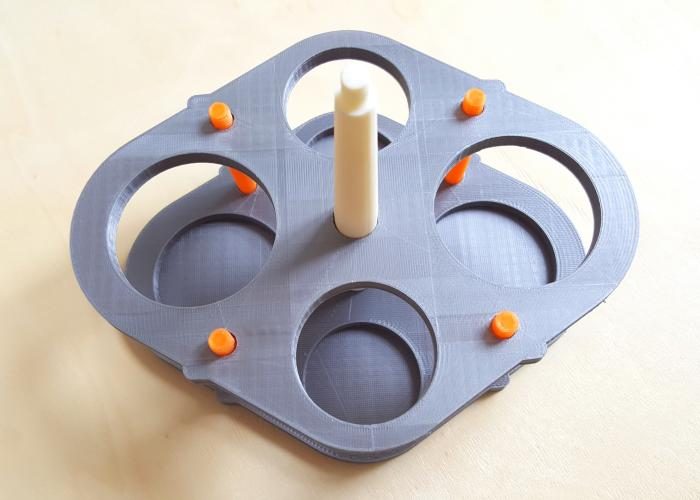
Mount the other large part, the top part. It should easily pass through the long part and the tip of the small stumps.
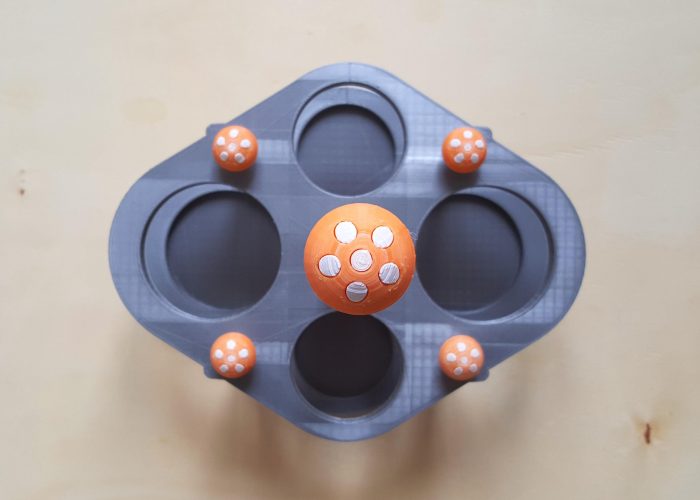
Finally, screw the mushrooms; the large one to the large part in the center, and the small ones to the four stumps.
And you're done!
BOM (Bill Of Materials)
Directions
Insert the round part (in orange) in the large bottom part (gray). Then, take the long stump (white)...
and screw it to the previously inserted round orange part. Attach from the other side, as in the picture.
Insert the four little stumps in the holes, in the bottom part.
Insert the small tube in the long white part.
Mount the other large part, the top part. It should easily pass through the long part and the tip of the small stumps.
Finally, screw the mushrooms; the large one to the large part in the center, and the small ones to the four stumps.
And you're done!
STLs to be made available soon.
ps: The mushrooms were adapted from the design available here.