
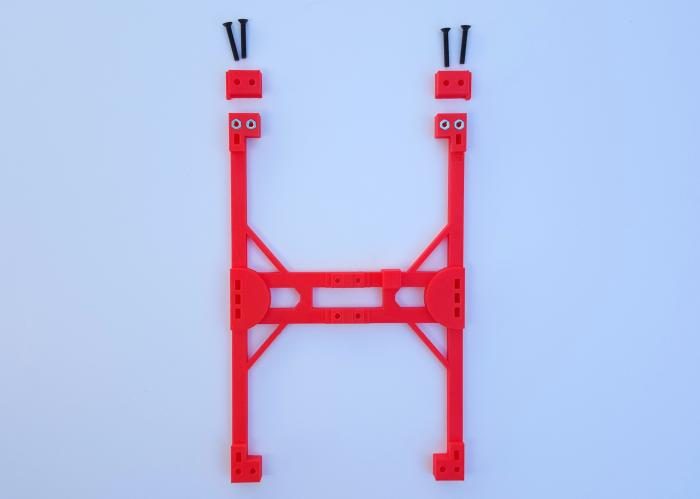
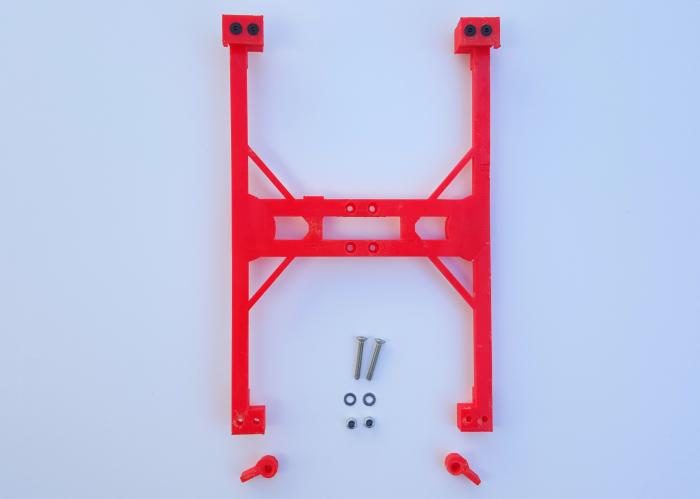
BOM
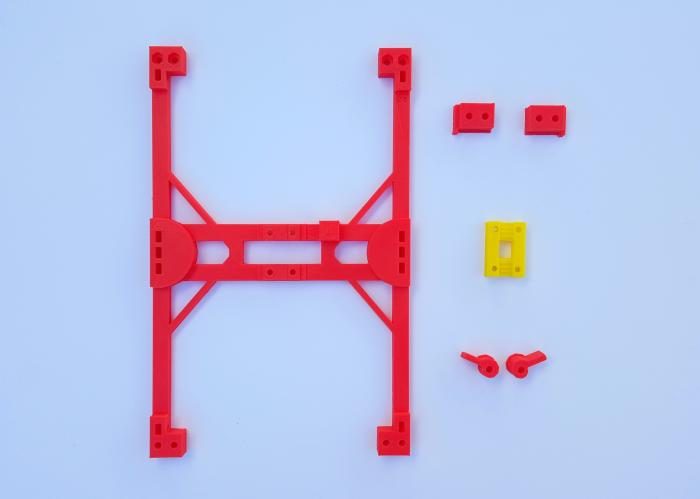
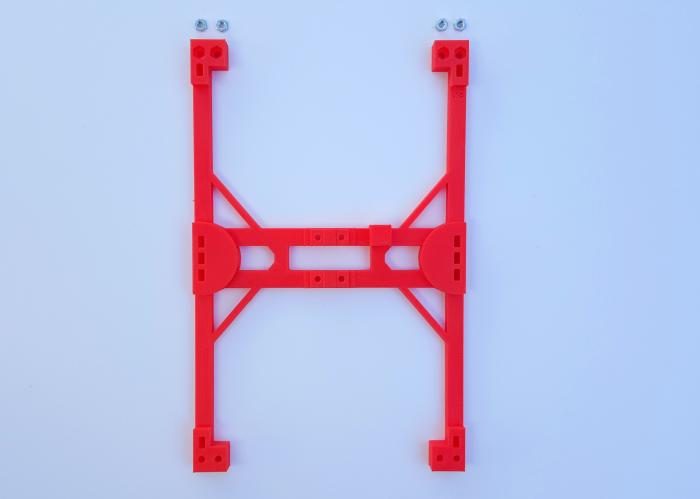
Printed parts
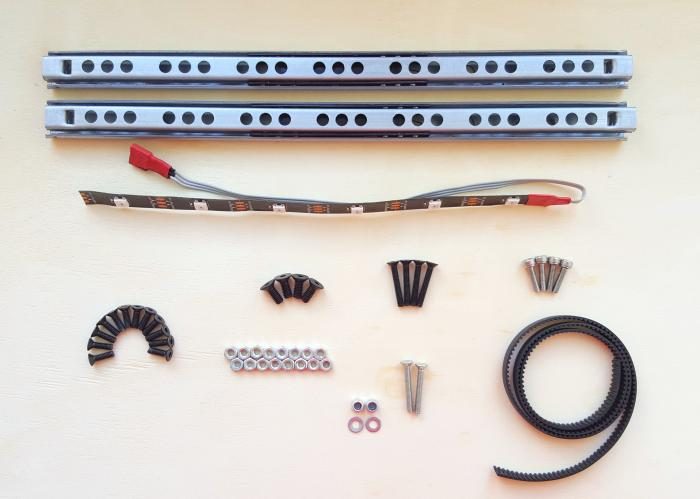
Other material
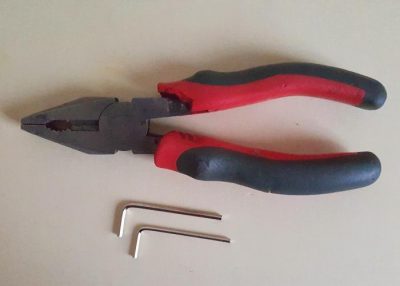
Tools
Directions
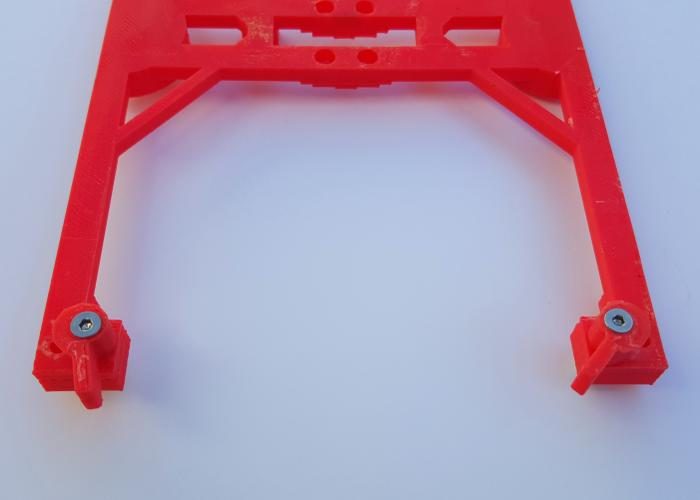
Attach the bed grooves and the quick releases
Insert the 2 M3 nuts in place, in the frog part.
Attach the bed grooves to the frog. Use 2 20 mm flathead screws and the 2 M3 nuts previously inserted into the frog part.
Make sure the 2 groove places are facing inside, these will be used to secure and hold the bed.
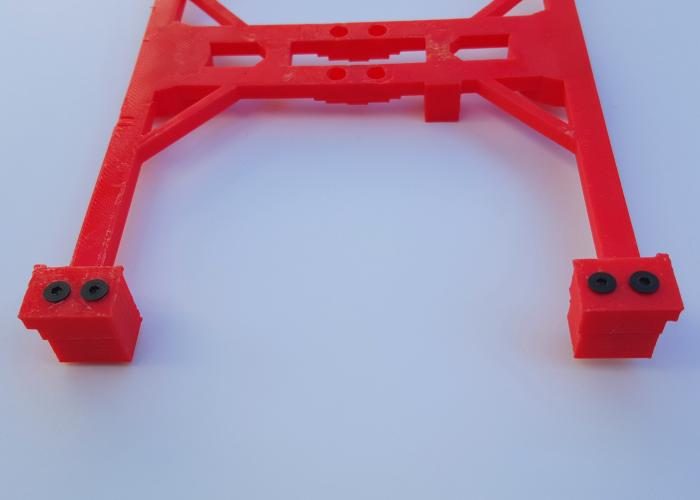
Attach the quick release clips to the frog. Use 2 22 mm flathead screws, the 2 washers and the 2 nylon nuts..
The 2 quick releases will secure the bed when you push them from inside to outside.
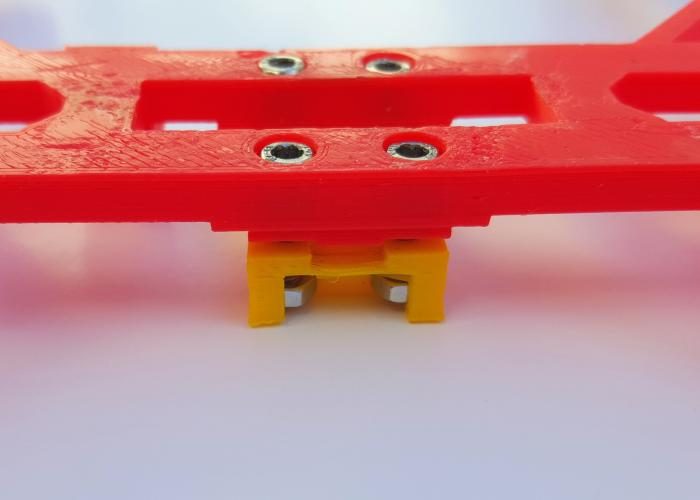
Assembly the belt holder
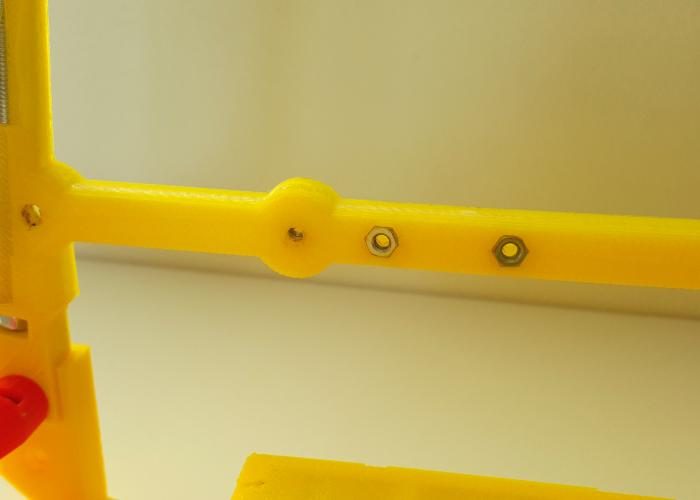
Insert the 4 M3 nuts in place for the belt lid.
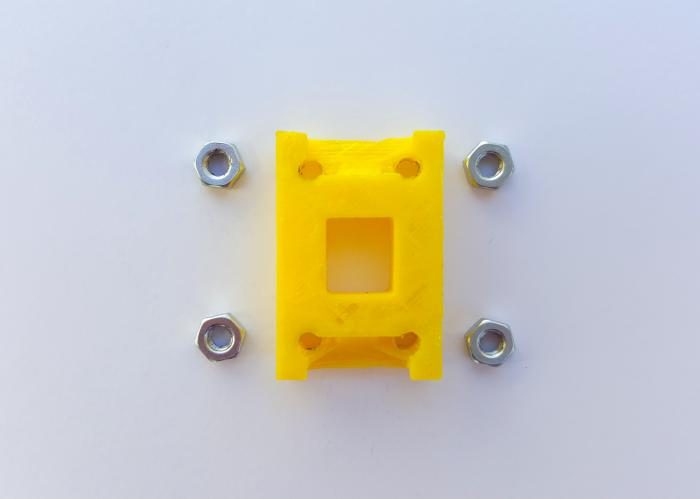
They should look like this.

Prepare the material to attach the belt lid.
Insert the 4 12 mm M3 screws in the frog part.
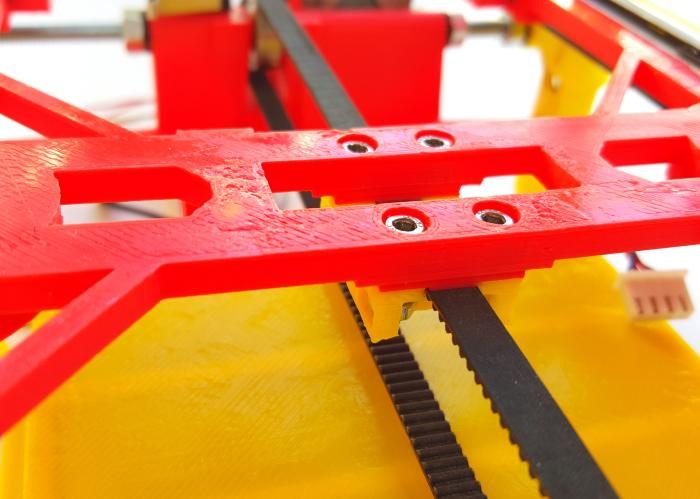
Attach the belt lid using the frog screws. Do not tighten it too much, for later you'll have to insert he belt.
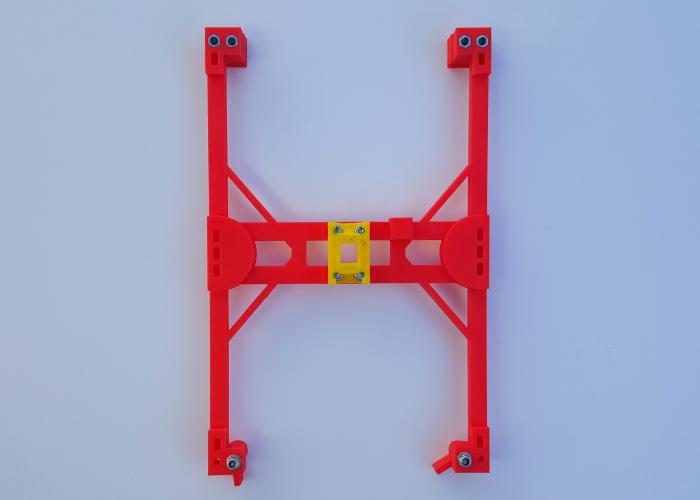
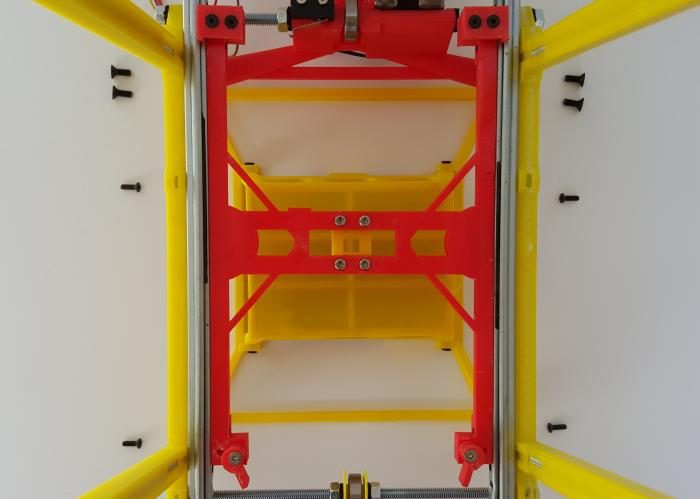
Top view.
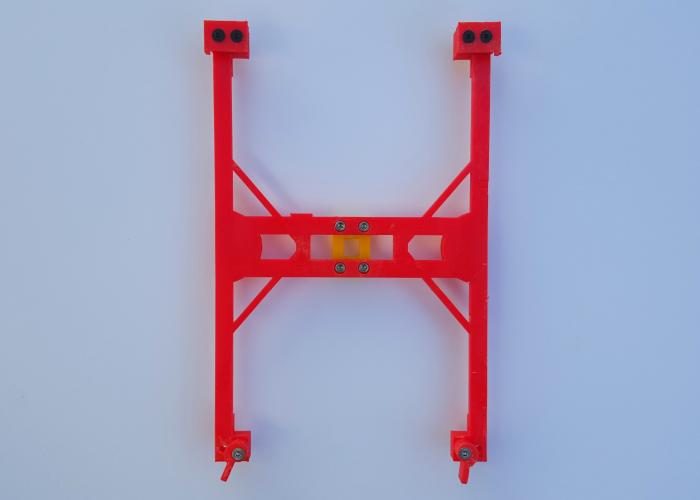
Bottom view.
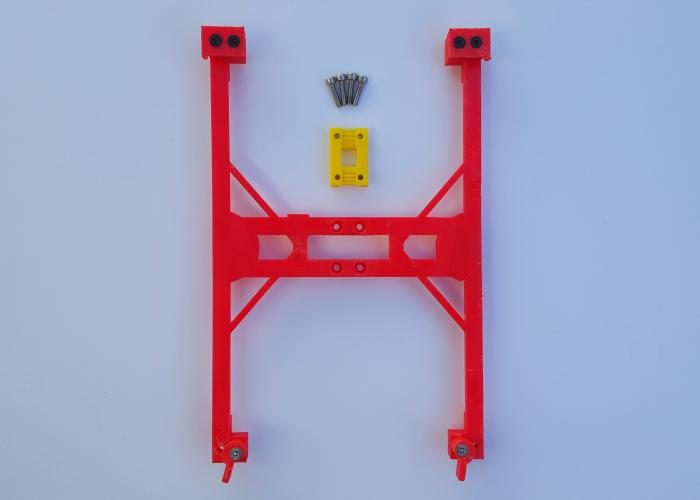
Attaching the bed runners
Insert the 8 M3 nuts in the lateral holes part, 4 on each side.
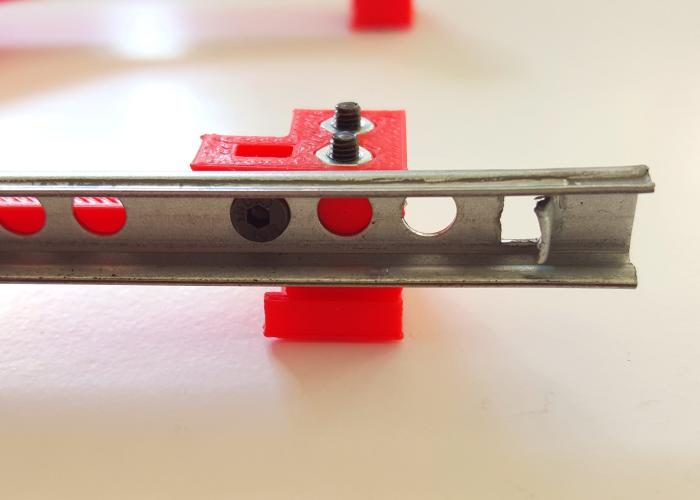
Attach the frog part to the drawer runners, with the 6 10 mm M3 flathead screws.
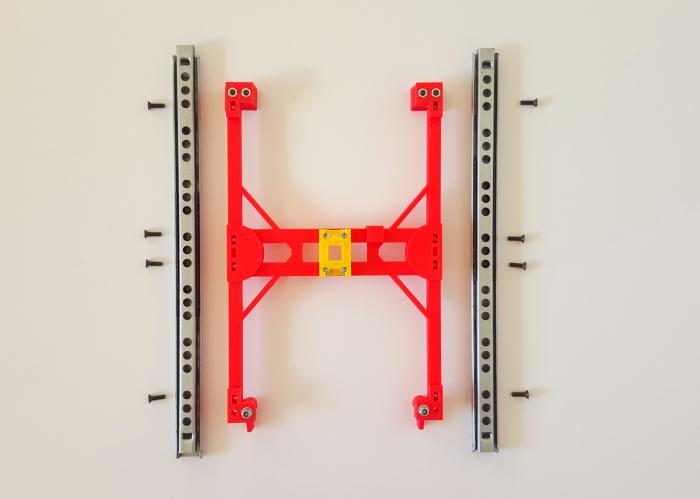
Make sure the screws are in place, and well attached. And be aware of the position (1st screw iin the 3rd hole).
Repeat for the other bed runner.
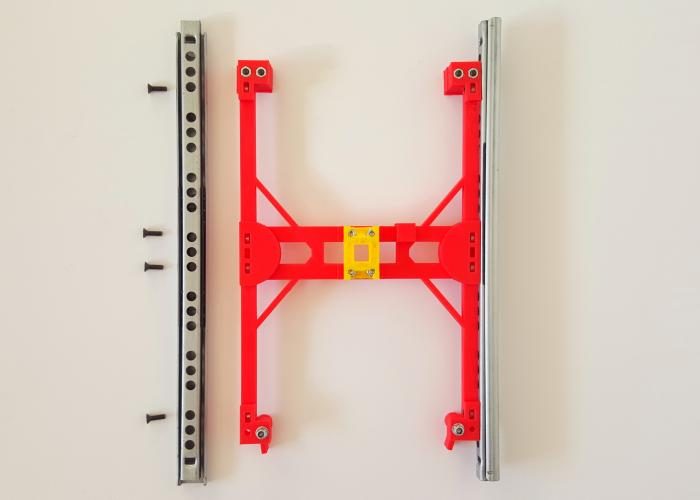
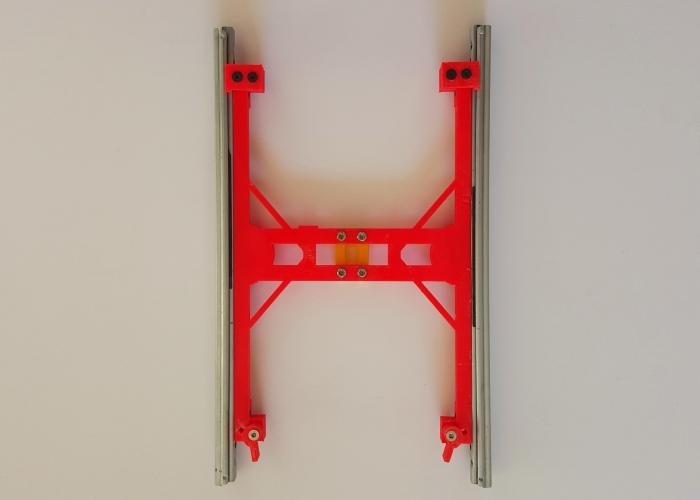
Your assembly should look like this.
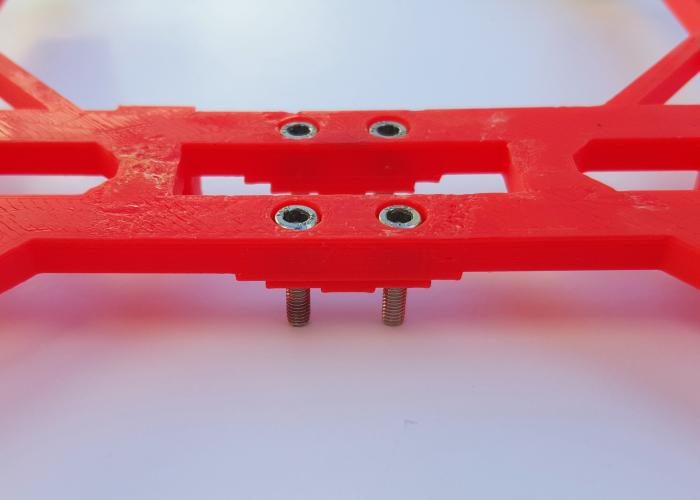
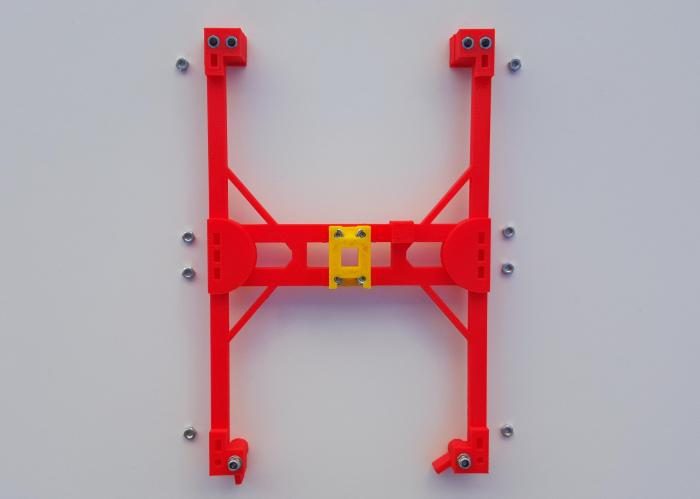
Mounting the frog in the main structure
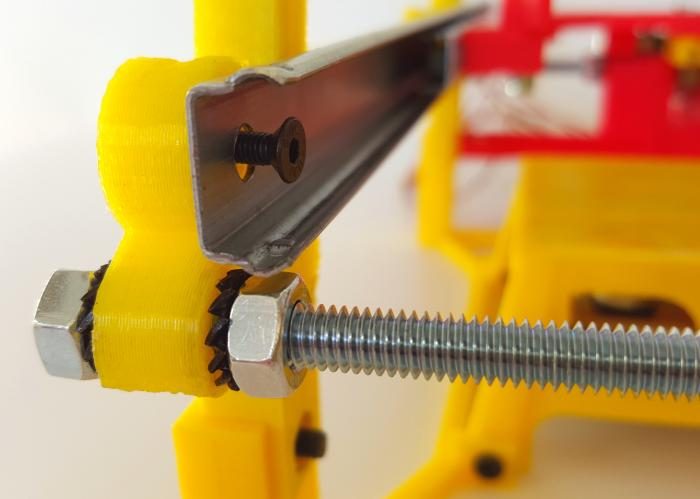
First, you need to make sure that you have two m3 nuts inserted in the frame holes. Two in each side. These will stay under the bed runners, and will be needed there to mount the Z-motor.
Attach the assembled frog to the main structure. On each side use 2 M4 flathead screws. Note that the quick release cubes and the 2 M4 screws are due in the back.
The M4 are screwed from the outside part of the frame. 2 on each side.
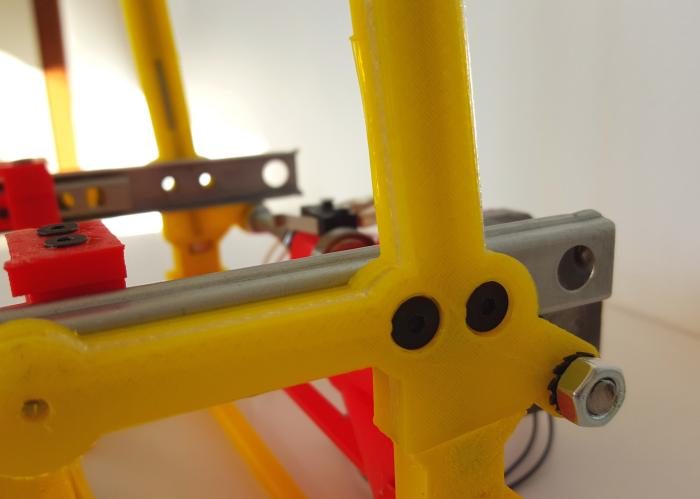
In the front, use the 10 mm M3 flathead screws. These are screwed from the inside part of the frame. 1 on each side.
Continue attaching the assembled frog to the main frame. On each side, in the middle, use the 10 mm M3 flathead screws. These are screwed from the inside part of the frame. 1 on each side.

Y-belt assembly
Insert one tip of the belt between the bed lid and the frog, and secure it tight using the screws (do not overdue...), then...
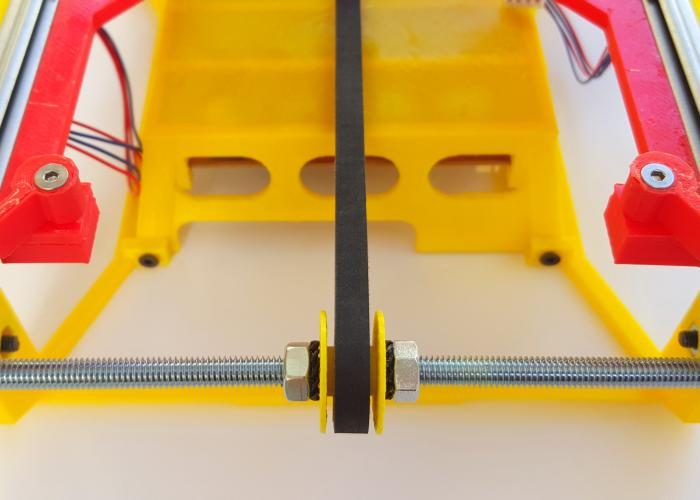
... pass it over the bearings in the back and...
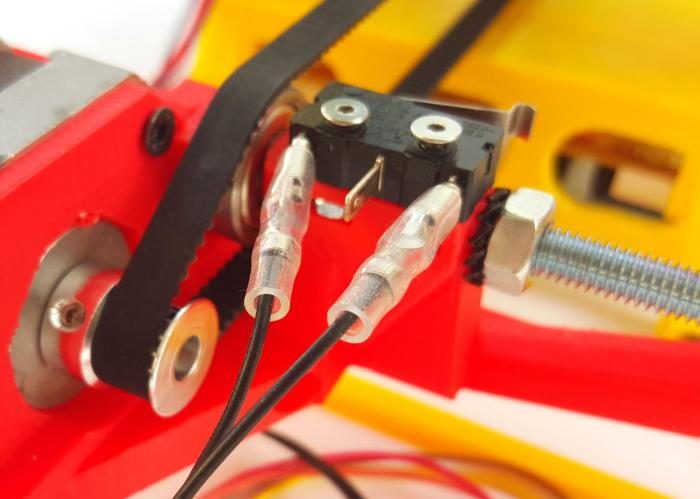
... in the front and secure the other tip, just as you did before.
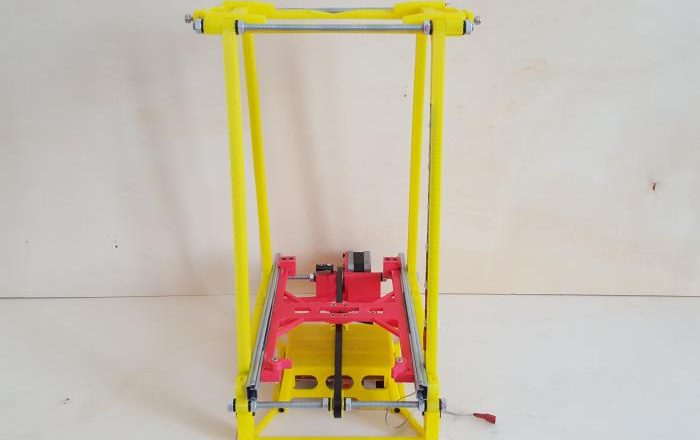
You're done!
BOM (Bill Of Materials)
Printed parts
Other material
Tools
Directions
Attach the bed grooves and the quick releases
Insert the 2 M3 nuts in place, in the frog part.
Attach the bed grooves to the frog. Use 2 20 mm flathead screws and the 2 M3 nuts previously inserted into the frog part.
Make sure the 2 groove places are facing inside, these will be used to secure and hold the bed.
Attach the quick release clips to the frog. Use 2 22 mm flathead screws, the 2 washers and the 2 nylon nuts..
The 2 quick releases will secure the bed when you push them from inside to outside.
Assembly the belt holder
Insert the 4 M3 nuts in place for the belt lid.
They should look like this.
Prepare the material to attach the belt lid.
Insert the 4 12 mm M3 screws in the frog part.
Attach the belt lid using the frog screws. Do not tighten it too much, for later you'll have to insert he belt.
Top view.
Bottom view.
Attaching the bed runners
Insert the 8 M3 nuts in the lateral holes part, 4 on each side.
Attach the frog part to the drawer runners, with the 6 10 mm M3 flathead screws.
Make sure the screws are in place, and well attached. And be aware of the position (1st screw iin the 3rd hole).
Repeat for the other bed runner.
Your assembly should look like this.
Mounting the frog in the main structure
First, you need to make sure that you have two m3 nuts inserted in the frame holes. Two in each side. These will stay under the bed runners, and will be needed there to mount the Z-motor.
Attach the assembled frog to the main structure. On each side use 2 M4 flathead screws. Note that the quick release cubes and the 2 M4 screws are due in the back.
The M4 are screwed from the outside part of the frame. 2 on each side.
In the front, use the 10 mm M3 flathead screws. These are screwed from the inside part of the frame. 1 on each side.
Continue attaching the assembled frog to the main frame. On each side, in the middle, use the 10 mm M3 flathead screws. These are screwed from the inside part of the frame. 1 on each side.
Y-belt assembly
Insert one tip of the belt between the bed lid and the frog, and secure it tight using the screws (do not overdue...), then...
... pass it over the bearings in the back and...
... in the front and secure the other tip, just as you did before.
You're done!