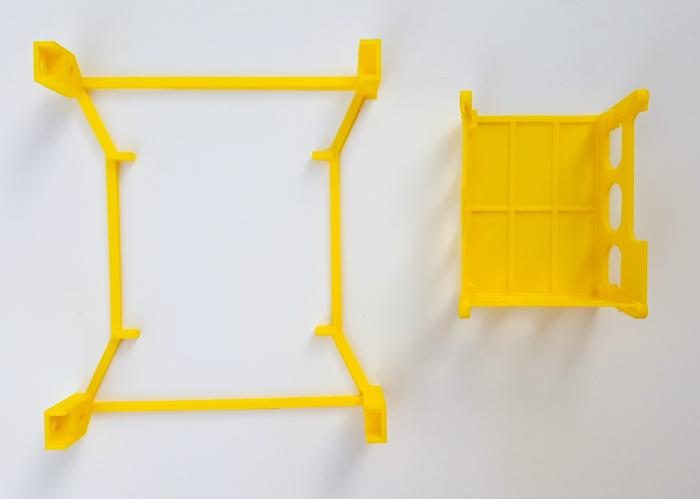
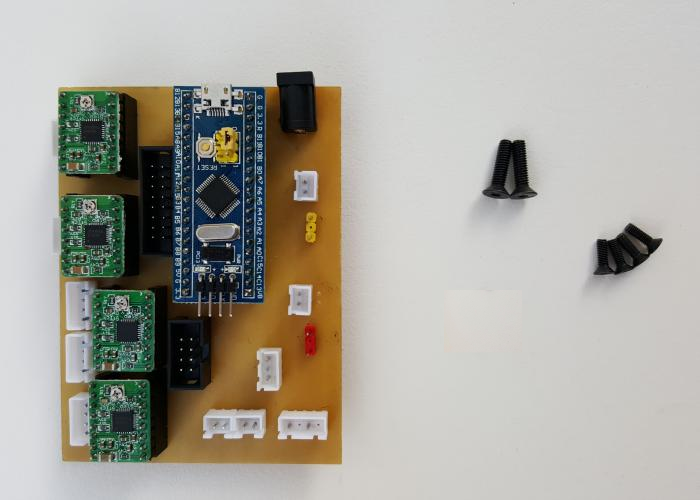
Take the printed box and the electronics controller board.
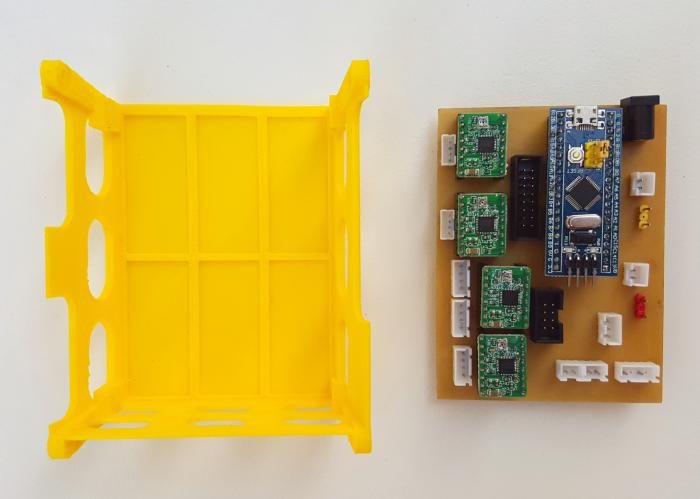
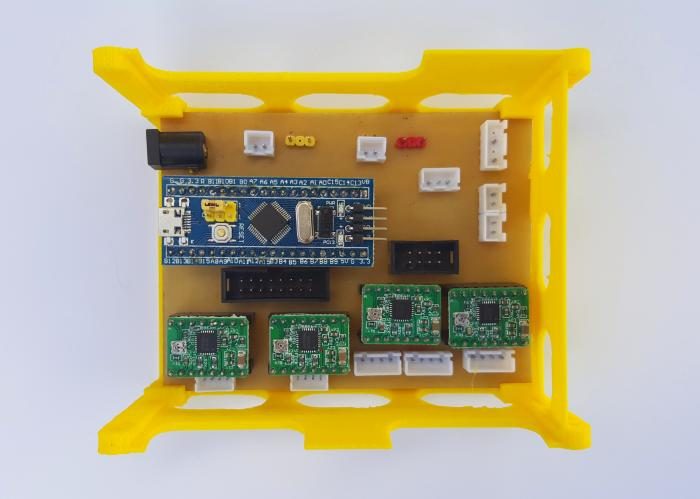
Insert the board in the box, as in the picture. Make sure the usb and power jack are placed on the open side.
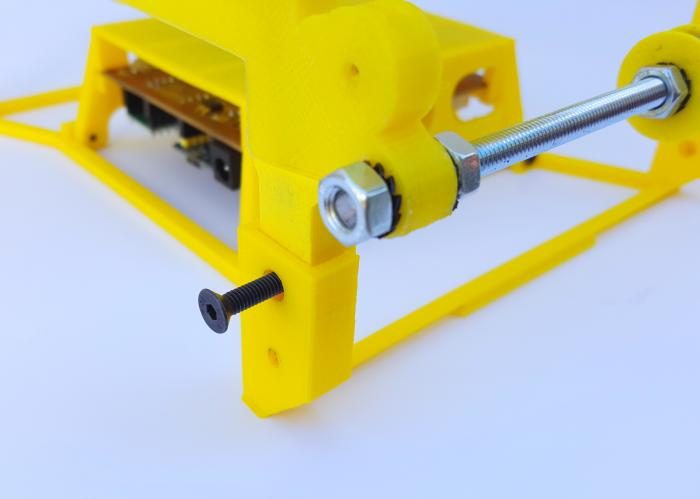
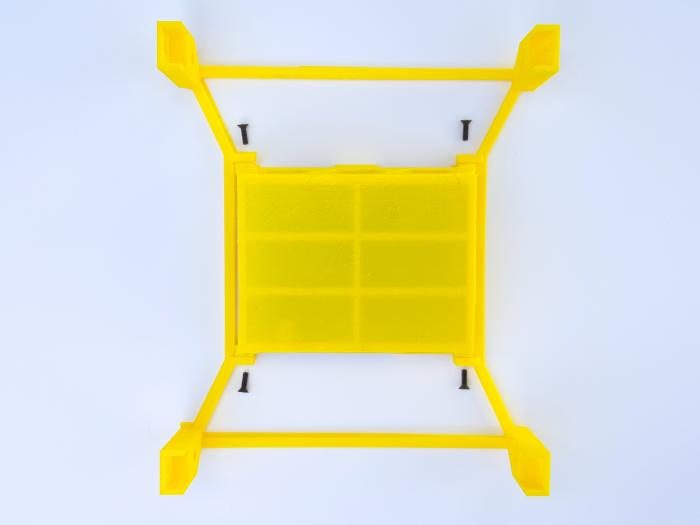
Take the 4 M3 screws and attach the box to the bottom part.
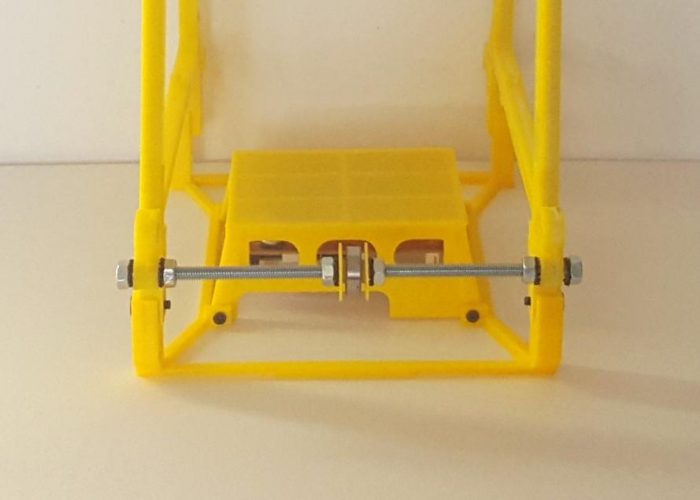
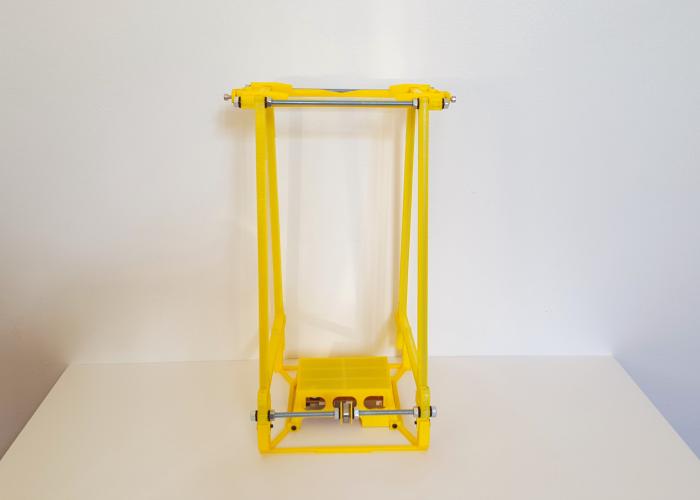
Attach the previously mounted frame to the bottom part. Use the 2 M4 mm screws in the front. Make sure that the box open side is on the left.